Quick answer: To black out text in a screenshot properly, draw a filled, 100% opaque rectangle over it in an image editor, cover a little extra around the edges, then export or save the result as a new PNG or JPEG. Never draw the box on top of an image inside a document, slide or PDF, because the original text or image underneath can still be recovered.
Blacking out text looks simple, and that’s why it goes wrong so often. Court filings, government reports and company slides have all leaked “hidden” information because someone drew a black box that only looked like it covered the text. In a screenshot, the fix is easy once you know the rule: the black has to replace the pixels, not sit on top of them.
Why most black-out jobs fail
| What people do | What actually happens |
|---|---|
| Draw a black shape over a screenshot in Word, Google Docs or PowerPoint | The shape is a separate layer. Anyone can click it and drag it away. |
| Draw a black box over text in a PDF | The text is often still in the file. It can be selected, copied or searched. |
| Use the highlighter in black or dark blue | Highlighters are transparent. Raise the brightness and the text appears. |
| Use a box with slight transparency or a soft edge | Faint letters stay visible, especially at the edges. |
| Cover the text exactly to its edges | The tops of tall letters or underscores can poke out. |
A screenshot saved as PNG or JPEG is just a grid of pixels. Once you paint those pixels black and save a new file, the original text is gone. That’s what makes images the safest format for redaction, as long as you edit the image itself.
The correct method, step by step
- Work on a copy. Keep the original somewhere private, or delete it after you’re done.
- Open the screenshot in an image editor, not a document or slide app.
- Choose a rectangle shape and set the fill to solid black (or any solid colour) at full opacity.
- Cover the text with a margin of a few pixels on every side.
- Export or Save As a new PNG or JPEG. This flattens the shape into the image.
- Check the result by zooming to 200% and looking at the edges.
How to do it on each device
Windows: Paint
- Right-click the screenshot and choose Open with > Paint.
- Pick the Rectangle shape.
- Set Fill to Solid color, and set both colours (outline and fill) to black.
- Drag over the text, then File > Save as > PNG picture.
Snipping Tool has no rectangle tool. If you only have Snipping Tool, use the pen in black at maximum thickness and check carefully for gaps.
Mac: Preview
- Open the image in Preview and click the Markup icon.
- Click Shapes and choose the rectangle.
- Set the border and the Fill Color to black.
- Drag the box over the text, then choose File > Export and save as PNG or JPEG.
For PDFs on a Mac, Preview has a separate Tools > Redact feature in recent macOS versions, which removes the text under the box when you save. That is different from drawing a shape.
iPhone and iPad
Open the screenshot, tap Edit (or Markup), tap + and choose the square shape. Tap the fill option to make it solid, set the colour to black, and drag it over the text. Tap Done and share the edited image, not the original.
Android
Editors vary by phone. If yours has shapes, use a filled rectangle. If it only has a pen, use the thickest stroke in solid black and cover the text in several passes. Some phones keep the original screenshot alongside the edited one, so share the newest file.
Chrome
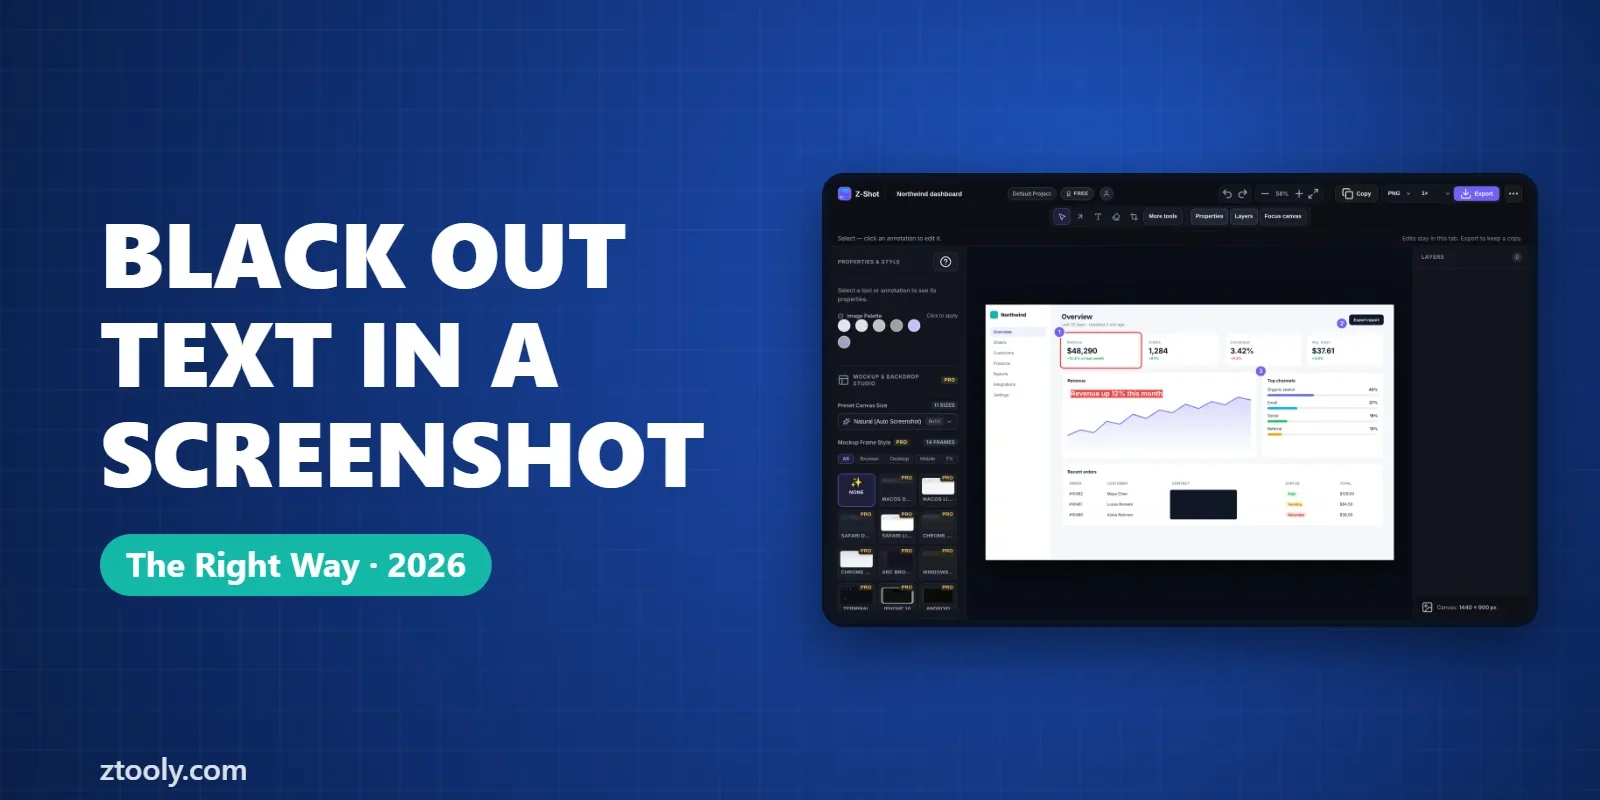
If you’re capturing web pages, it’s faster to redact in the same tool you capture with. Z-Shot, our Chrome extension, has a solid redaction box in its free editor and exports a flattened PNG, JPEG or WebP. Everything happens in your browser.
Black box or blur?
- Use a solid black box for anything that would cause harm if revealed: passwords, API keys, account and card numbers, email addresses, phone numbers, names in sensitive contexts.
- Use a strong blur for faces, background clutter and things that just aren’t relevant, where you want the image to still look natural.
- Don’t use light blur or pixelation on short text. We explain why in Is pixelating text safe?
How to check your black-out worked
- Zoom in to 200–400% and look for any letter tips at the edges.
- Turn up the brightness on the image in any photo app. If a shape was transparent, letters will show.
- Re-open the saved file and try to click the box. If it moves, it wasn’t flattened.
- For PDFs, try selecting and copying the blacked-out area. If text pastes, it wasn’t removed.
When a screenshot of a document is safer than the document
If you need to share a page from a contract or spreadsheet with a few details hidden, a common safe approach is to take a screenshot of it, black out the image, and share the image. That avoids hidden text layers, comments, tracked changes and metadata in the original file. For longer documents, use a proper redaction tool that removes the underlying text, such as the redaction feature in Adobe Acrobat Pro.
FAQ
How do I black out text in a screenshot permanently?
Draw a filled, fully opaque rectangle over the text in an image editor like Paint or Preview, then save or export it as a new PNG or JPEG. Saving flattens the box into the image so it can’t be removed.
Can someone remove a black box from a screenshot?
Not if the box was painted into the image and saved as a new file. They can if the box was drawn on top of the image in a document, slide or PDF, because it’s a separate layer.
Is a black highlighter safe for redacting?
No. Highlighters are semi-transparent, and the text underneath can be revealed by changing brightness or contrast. Use a solid shape or a solid pen stroke instead.
Should I use black boxes or blur?
Use solid boxes for sensitive text like emails, passwords and account numbers. Use strong blur for faces and background details where a natural look matters.
Does drawing a black box in a PDF hide the text?
Often not. The text can remain in the file and be copied or searched. Use a real PDF redaction tool, or screenshot the page and black out the image.
Try it free: Z-Shot captures full pages, records your screen, and blurs or redacts sensitive data right in Chrome. Free plan, no account needed, and nothing is uploaded.