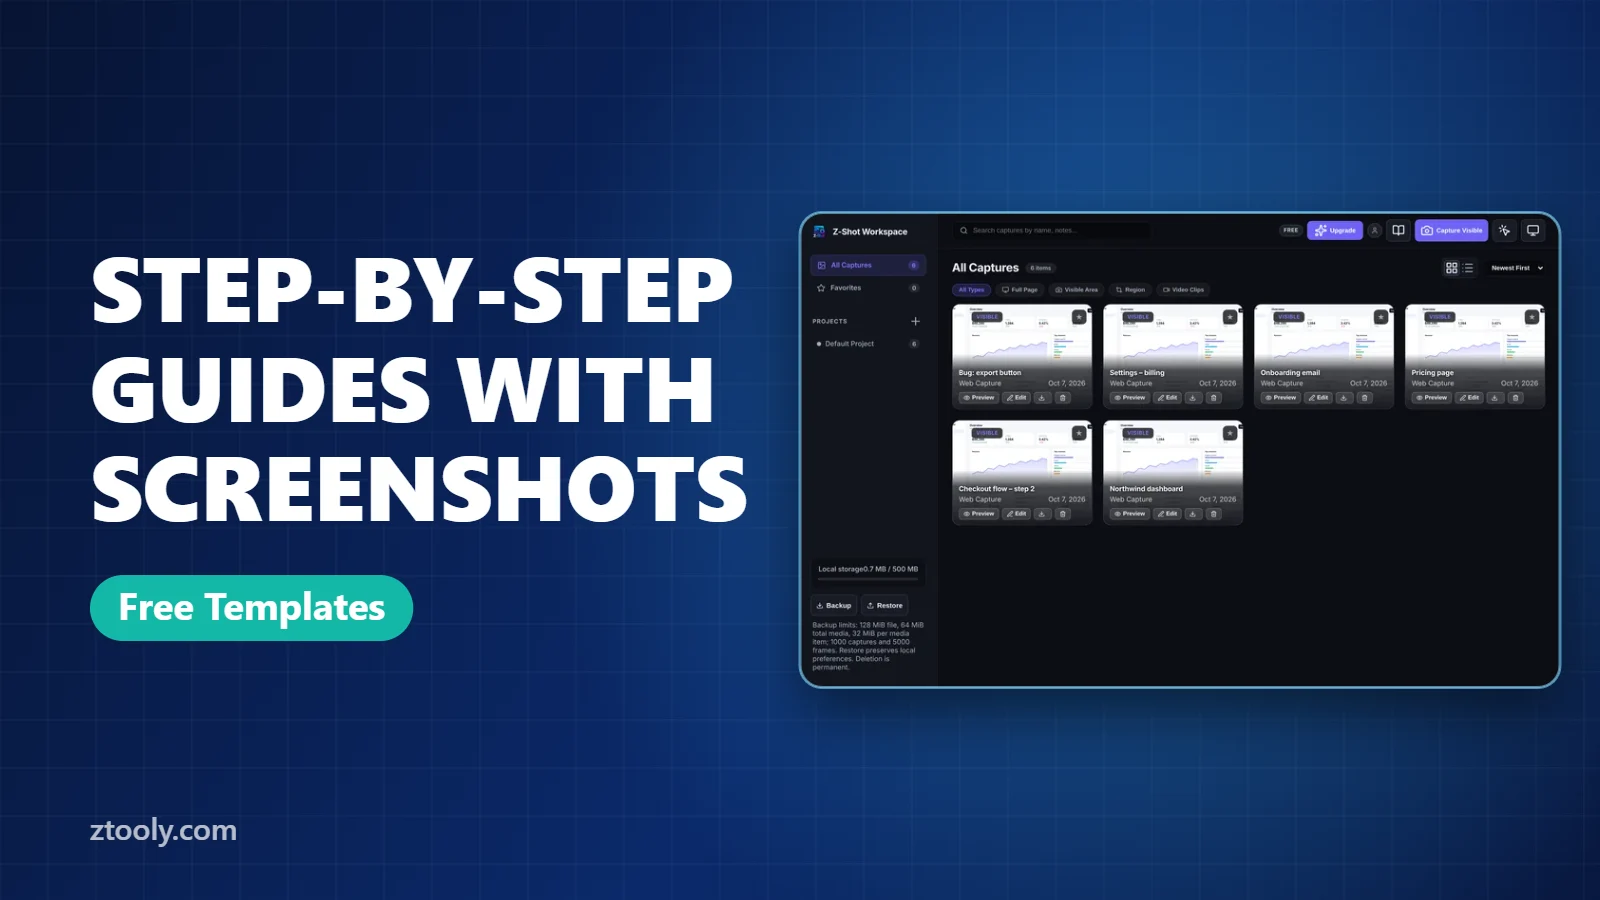
Quick answer: To create a step-by-step guide with screenshots, capture one screenshot per action, add a numbered marker on the exact spot to click, write one short instruction under each image, and export the result as a document. Z-Shot can turn a set of captures into a Markdown file or a printable HTML/PDF guide, so you skip pasting images into a doc by hand.
Good how-to guides are mostly screenshots with a sentence under each. Whether you’re onboarding a new teammate, answering a customer, or documenting a process for yourself, a clear visual guide saves more time than any paragraph.
What makes a step by step guide with screenshots easy to follow
- One action per step. “Click Settings” and “Choose Billing” are two steps.
- A screenshot for every step, cropped to the part that matters.
- A number or arrow on the exact spot to click.
- A short instruction that starts with a verb.
- A clear goal at the top so readers know they’re in the right place.
How to make a screenshot guide in Chrome
Step 1: Plan the steps
Do the task once and write each action down. This catches missing steps before you start capturing.
Step 2: Capture each step
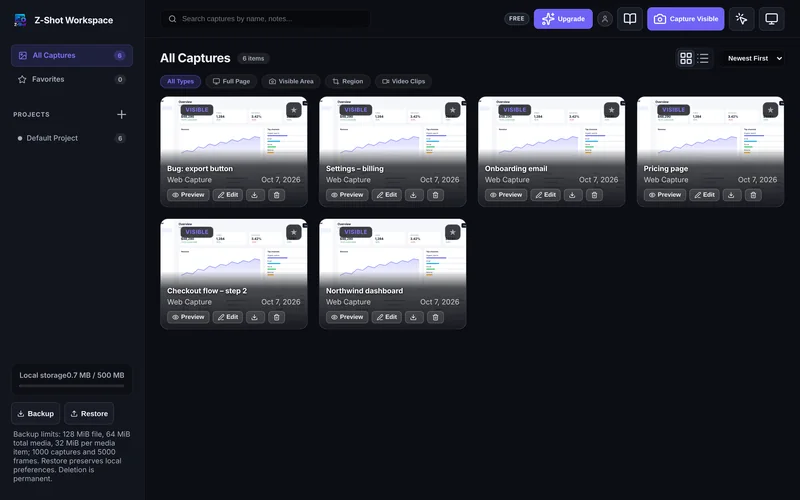
Do the task again and capture after each action. Use area or element capture so each image shows only what’s relevant. In Z-Shot, Alt+Shift+A captures an area and the image lands in your gallery, ready for the next step. For menus that close when you click, use the 3 or 5 second countdown.
Step 3: Mark where to click
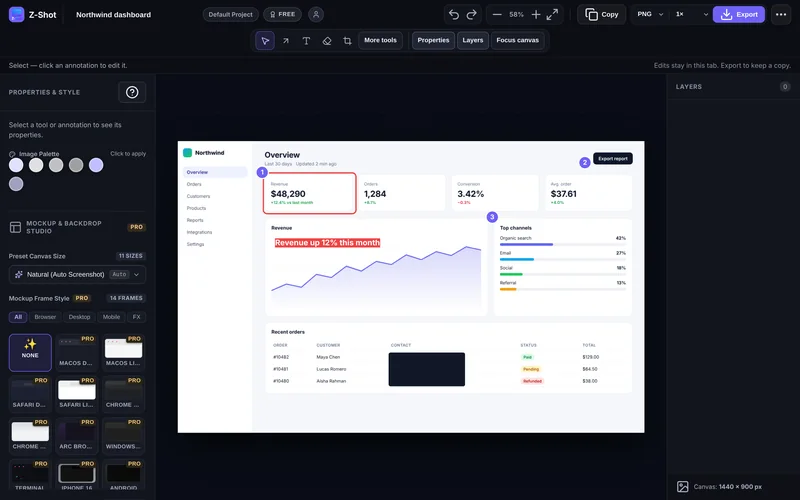
Open each capture in the editor and add a numbered step marker on the button or field. Use a spotlight to dim everything else if the screen is busy. Keep arrows and boxes to one per image.
Step 4: Hide anything private
Account names, emails and IDs show up in almost every app. Cover them with blur or a solid redaction box before exporting. See how to blur sensitive information in screenshots.
Step 5: Write the instructions
Under each image, write one line: “Click Billing in the left menu.” Bold the exact label the reader will see on screen.
Step 6: Export the guide
Group the captures into a project, then use Z-Shot’s step-by-step guide export to produce Markdown (for wikis, GitHub, Notion) or a printable HTML/PDF (for customers or offline use). You can also paste the images into Google Docs or Confluence yourself.
Templates you can copy
Simple how-to
Title: How to [do the task] in [app]
Goal: One sentence on what the reader will achieve.
Before you start: Any access or setup needed.
1. [Verb] [exact label]. (screenshot)
2. [Verb] [exact label]. (screenshot)
3. ...
Result: What the reader should see when it worked.
Support reply
Hi [name], here's how to fix this:
1. Open [page] and click [label]. (screenshot)
2. Change [setting] to [value]. (screenshot)
3. Click Save. (screenshot)
Let me know if anything looks different on your screen.
Screenshot guide, video or both?
| Use | Best format |
|---|---|
| Reference people return to | Screenshot guide |
| A process with many fields and settings | Screenshot guide |
| Something that moves, like drag and drop | Short video or GIF |
| A demo with explanation | Video with narration |
Screenshot guides are easier to skim and to update when one step changes. For motion, add a short clip: see how to turn a screen recording into a GIF.
Common mistakes
- Full-screen captures for every step. Readers can’t find the button. Crop tight.
- Too many arrows. One marker per image.
- Labels that don’t match the screen. Copy the exact button text.
- Skipping “obvious” steps. They are only obvious to you.
- Old screenshots. Re-capture when the interface changes, or readers will lose trust in the whole guide.
A step by step guide with screenshots is easiest to follow when every image shows exactly one action.
Frequently Asked Questions
How do I make a step-by-step guide with screenshots?
Capture one screenshot per action, add a numbered marker where to click, write a one-line instruction under each image, and export as a document. Tools like Z-Shot can export the whole set as Markdown or a printable HTML/PDF guide.
What is the best tool for creating screenshot guides?
Choose a tool that captures, numbers steps, blurs private data and exports a document in one place. Z-Shot does this in Chrome. Scribe and Tango record steps automatically if you prefer an automated approach.
Should I use screenshots or video for tutorials?
Use screenshots for reference guides people skim or return to, and short videos or GIFs for anything involving motion or a longer explanation.
How do I add numbers to screenshots?
Open the screenshot in an editor with step markers, such as Z-Shot’s annotation editor, and click where each step happens. The numbers increase automatically.
How do I export a screenshot guide as a PDF?
Group your captures in Z-Shot and export the step-by-step guide as printable HTML, then print or save it as PDF from your browser.
Try it free: Z-Shot captures full pages, records your screen, and blurs or redacts sensitive data right in Chrome. Free plan, no account needed, and nothing is uploaded.