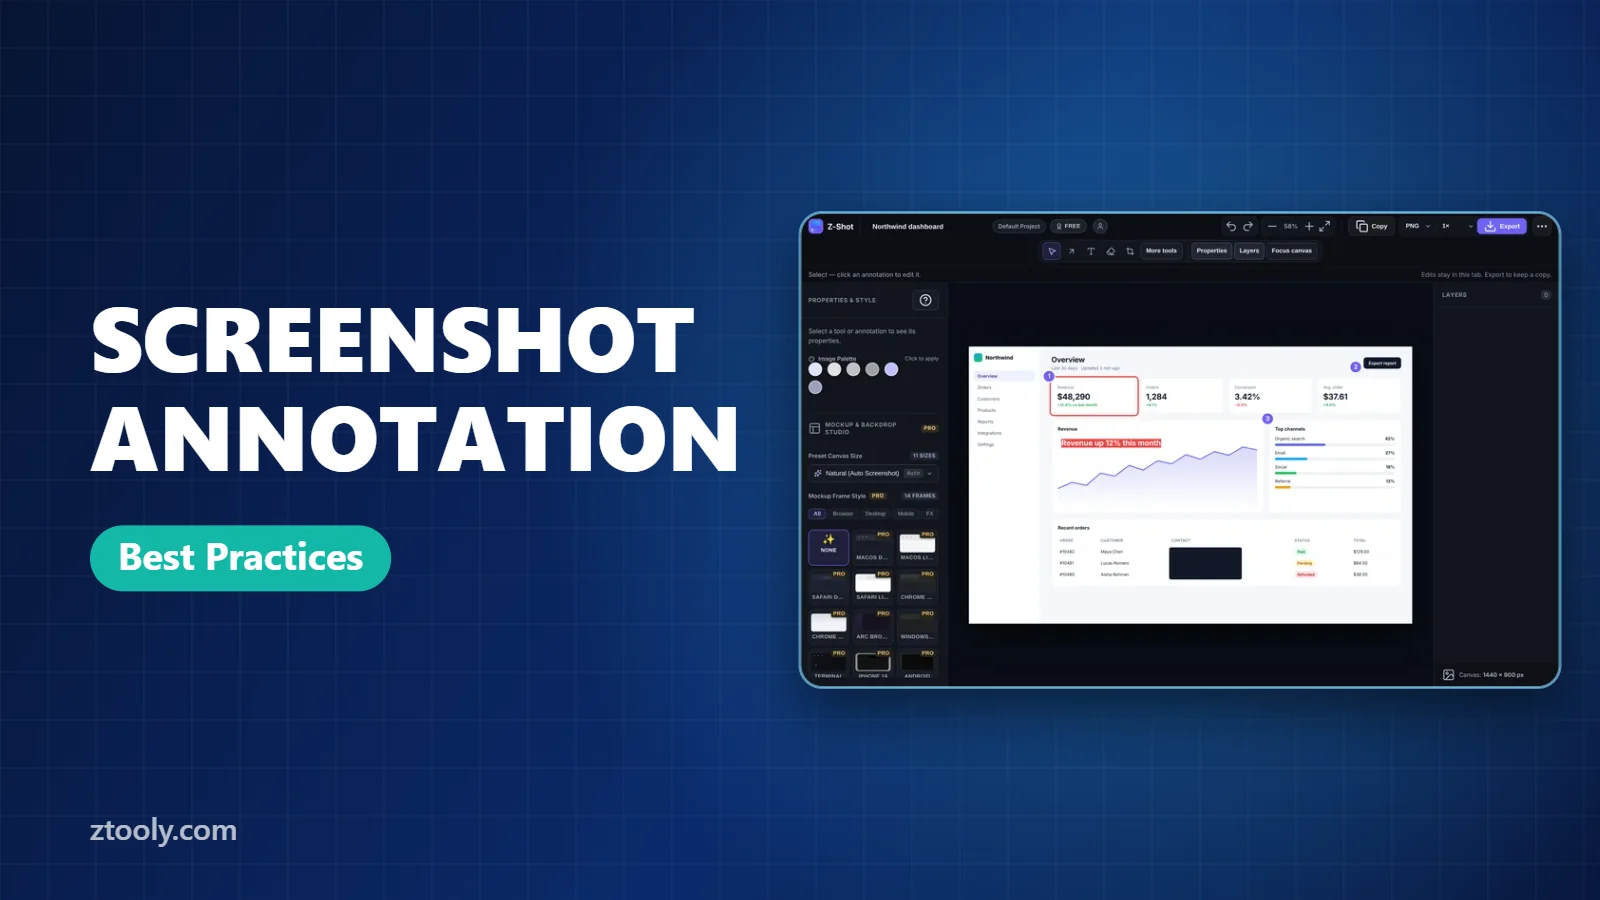
Quick answer: Good screenshot annotation uses one clear marker per idea (a box, arrow or numbered step), a single high-contrast color, short text labels, and blur or solid boxes for anything private. Crop first, annotate second, and remove anything that doesn’t help the reader act.
These screenshot annotation best practices work for bug reports, design reviews and documentation.
An annotated screenshot should answer one question at a glance: what am I supposed to look at? Too many arrows, colors and notes do the opposite. These guidelines work for developers, designers, product managers and support teams alike.
1. Crop before you annotate
Most annotation problems start with capturing too much. Use area or element capture so the image shows only what’s relevant. A smaller image needs fewer markers.
2. One marker per idea
- Box or rectangle: “look at this area”.
- Arrow: “click here” or “this one, not that one”.
- Numbered step markers: a sequence of actions.
- Spotlight: dims everything else on a busy screen.
- Text label: a few words of explanation, close to what it describes.
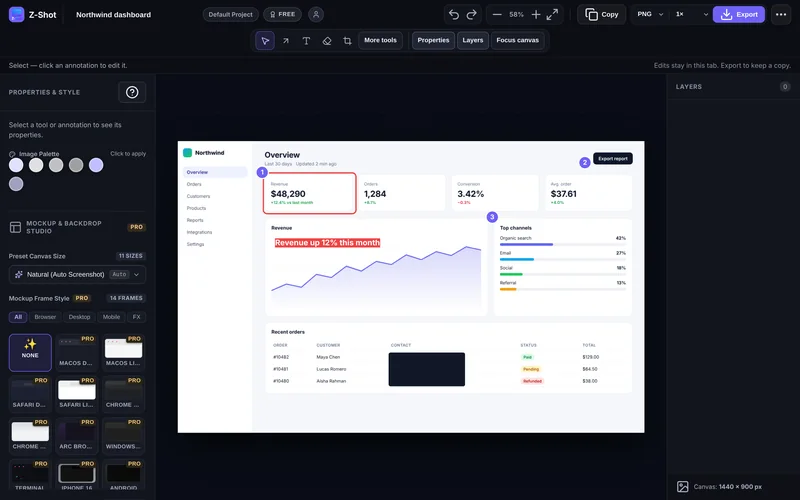
If you need more than three markers, split it into several screenshots.
3. Use one color, consistently
Pick one bright color that contrasts with the interface (red, magenta or orange usually work on light UIs; yellow or cyan on dark ones). Use a second color only for a different meaning, such as green for “correct” and red for “wrong”. If your team shares screenshots often, agree on the colors.
4. Keep text short and readable
- 3–8 words per label.
- Large enough to read when the image is shown small in chat.
- A solid background behind the text if it sits over busy content.
- Exact UI labels in quotes: Click “Save changes”.
5. Hide what shouldn’t be seen
Annotation is also about removal. Use blur or pixelation for names and emails and solid boxes for passwords, keys and IDs. Don’t use an emoji or highlighter as a cover. See how to blur sensitive information properly.
Screenshot annotation best practices by role
Developers and QA
- Box the broken element and add the expected value as a label.
- Keep the URL or write it in the ticket.
- Follow a clear bug report format.
Designers and UX
- Number each comment on the image and list the comments below, so feedback can be discussed by number.
- Use arrows to show misalignment, and text for spacing values.
- Separate “must fix” from “nice to have” by color.
Product and feedback
- One screenshot per piece of feedback, so each can become a ticket.
- Show the current state and describe the desired state in a label.
Support and documentation
- Numbered steps with one action each.
- A spotlight on the button to click.
- See how to make a step-by-step guide.
Before-and-after checklist
| Before you share, check… | Fix |
|---|---|
| Can someone tell what to look at in 2 seconds? | Remove extra markers, add a spotlight |
| Is text readable at chat size? | Make labels bigger, export at 2× |
| Are colors consistent? | Use one accent color |
| Is anything private visible? | Blur or box it |
| Is it one idea? | Split into several images |
Tools
Z-Shot includes arrows, shapes, text, numbered steps, spotlight, blur and solid redaction, with layers, undo and a command palette for speed. Exports are PNG, JPEG or WebP at 1×, 2× or 3×. Built-in tools like the Windows Snipping Tool and macOS Markup handle basic arrows and pens if you only annotate occasionally.
Stick to these screenshot annotation best practices and your feedback will need far fewer follow-up questions.
Frequently Asked Questions
What is the best way to annotate a screenshot?
Crop to what matters, use one marker per idea in a single bright color, add short labels close to the marked area, and blur or box anything private.
How many arrows should a screenshot have?
Ideally one to three. If you need more, split the explanation across several screenshots or use numbered step markers.
What color should I use for screenshot annotations?
A bright color that contrasts with the interface, such as red or magenta on light screens and yellow or cyan on dark screens. Keep it consistent.
How do I add numbers to a screenshot?
Use a step marker tool. In Z-Shot, each click adds the next number automatically.
How do I annotate a screenshot in Chrome?
Capture with a screenshot extension that opens an editor, such as Z-Shot, then add boxes, arrows, text and blur before exporting.
Try it free: Z-Shot captures full pages, records your screen, and blurs or redacts sensitive data right in Chrome. Free plan, no account needed, and nothing is uploaded.