Quick answer: To record your screen on a Mac, press Cmd+Shift+5, choose Record Entire Screen or Record Selected Portion, open Options and pick your microphone, then click Record. Stop with the button in the menu bar or Cmd+Control+Esc. The built-in recorder captures your microphone but not the Mac’s own sound; for system audio, use OBS Studio or a browser-based recorder for tab audio.
Here is how to record your screen on a Mac with audio, both your microphone and the Mac’s own sound.
macOS has a capable screen recorder built in, but “with audio” means two different things: your voice, and the sound playing on your Mac. The built-in tool handles the first easily. The second needs a workaround. This guide covers both.
How to record your screen on a Mac with audio: what each method captures
| Method | Your voice (mic) | Mac system audio | Cost |
|---|---|---|---|
| Cmd+Shift+5 screenshot toolbar | Yes | No | Free, built in |
| QuickTime Player | Yes | No | Free, built in |
| OBS Studio | Yes | Yes, on recent macOS versions | Free |
| Browser tab recorder (Chrome) | Yes | Tab audio | Free options |
| Virtual audio driver + built-in recorder | Yes | Yes | Free, more setup |
Method 1: Cmd+Shift+5 (built in)
- Press Cmd+Shift+5. A toolbar appears at the bottom of the screen.
- Click Record Entire Screen or Record Selected Portion (the two icons with a small record circle).
- Click Options. Under Microphone, choose your built-in mic or headset. Set a timer or choose where to save if you like.
- Click Record. For full screen, you can also click any screen to start.
- To stop, click the stop button in the menu bar, or press Cmd+Control+Esc.
A thumbnail appears in the corner. Click it to trim the video, or leave it and the .mov file saves to your Desktop (or the folder you chose).
Method 2: QuickTime Player
Open QuickTime Player and choose File > New Screen Recording. It opens the same toolbar as Cmd+Shift+5. QuickTime is useful afterwards: Edit > Trim to cut the start and end, and File > Export As to save a smaller 1080p or 720p version.
Recording the Mac’s sound (system audio)
Option A: OBS Studio (free)
- Install OBS Studio from its official website.
- Add a macOS Screen Capture source. On recent versions of macOS and OBS, it can capture desktop or app audio along with the screen.
- Add a Audio Input Capture source for your microphone.
- Check both levels move in the mixer, then click Start Recording.
macOS will ask for permission the first time. Allow it in System Settings > Privacy & Security > Screen & System Audio Recording (named Screen Recording on older versions), then restart OBS.
Option B: Record a browser tab with its audio
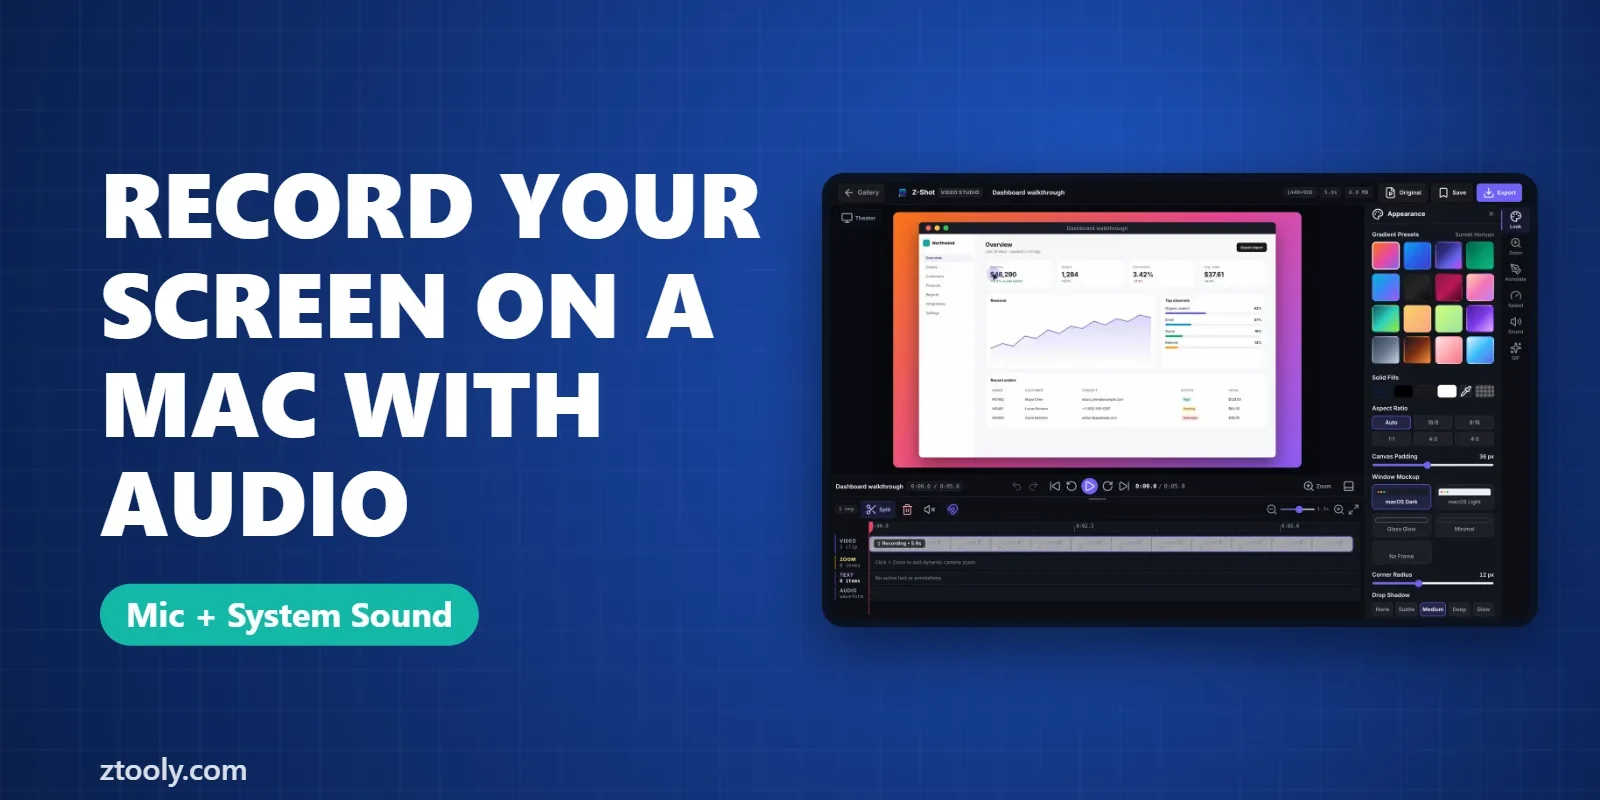
If what you’re recording is in Chrome (a web app demo, a video, a meeting in the browser), a tab recorder can capture the tab’s sound without any audio setup. Z-Shot, our Chrome extension, records a tab, window or screen with your microphone and an optional webcam bubble, then lets you trim, zoom and export MP4 or GIF in its Video Studio. More options in how to record your screen in Chrome with audio.
Option C: A virtual audio driver
Free virtual audio drivers such as BlackHole route your Mac’s output into an input the built-in recorder can use. You create a Multi-Output Device in Audio MIDI Setup so you still hear sound, then pick the virtual device as the microphone in Cmd+Shift+5. It works well but takes some setup; OBS is easier for most people.
Tips for a clean recording
- Turn on Do Not Disturb from Control Center so notifications don’t appear.
- Record a selected portion, not a whole Retina screen, so text is readable and files are smaller.
- Use headphones when recording system audio and mic together, to avoid echo.
- Close private apps and tabs before you start.
- Do a 10-second test and play it back to check both audio sources.
Troubleshooting
- No sound at all: in Cmd+Shift+5 > Options, the microphone was set to None. Pick a mic.
- Black recording: the app lacks screen recording permission. Check System Settings > Privacy & Security.
- Protected content is black: streaming apps block recording on purpose.
- File too large: export at 1080p or 720p from QuickTime, or record a smaller area.
Run a ten-second test whenever you record your screen on a Mac with audio, so you know both sound sources are captured.
FAQ
How do I screen record on a Mac with audio?
Press Cmd+Shift+5, choose a recording option, open Options and select a microphone, then click Record. Stop with the menu bar button or Cmd+Control+Esc.
Can Mac screen recording capture internal audio?
The built-in recorder captures your microphone, not the Mac’s own sound. Use OBS Studio, a browser tab recorder or a virtual audio driver for system audio.
Where do Mac screen recordings go?
To the Desktop by default as .mov files. Change it in Cmd+Shift+5 > Options.
How do I stop a screen recording on Mac?
Click the stop button in the menu bar, or press Cmd+Control+Esc.
Why is my Mac screen recording black?
The app doesn’t have screen recording permission, or you’re recording protected video. Check System Settings > Privacy & Security.
Try it free: Z-Shot captures full pages, records your screen, and blurs or redacts sensitive data right in Chrome. Free plan, no account needed, and nothing is uploaded.