Quick answer: The easiest free way to record your screen on Windows 11 is Snipping Tool: press Win+Shift+R (or open Snipping Tool and switch to the video icon), drag over the area, and click Start. For games, press Win+Alt+R to record with Xbox Game Bar. For long or professional recordings, use the free app OBS Studio.
Windows 11 includes three ways to record your screen for free, and none of them need a download. Each has a catch, though: one can’t record the desktop, one has a time limit, and one is basic. This guide compares them so you pick the right one, then walks through each step by step.
5 free ways to record your screen on Windows 11, compared
| Tool | Records | Audio | Editing | Best for |
|---|---|---|---|---|
| Snipping Tool | Any area or full screen | Microphone and system sound (recent versions) | None | Quick clips and bug reports |
| Xbox Game Bar | One app or game window | Game sound, optional mic | None | Gaming |
| Clipchamp | Screen and webcam | Mic | Full editor | Short edited videos |
| PowerPoint | Any area | Mic and system sound | Basic trim | Recordings inside a presentation |
| OBS Studio | Anything, multiple sources | Everything | None (records only) | Long, high-quality recordings |
Method 1: Snipping Tool (best for most people)
- Press Win+Shift+R, or open Snipping Tool from Start and click the video camera icon, then New.
- Drag over the part of the screen you want to record. Drag over everything for full screen.
- Use the microphone and speaker buttons on the toolbar to turn your voice and system audio on or off.
- Click Start. A 3-second countdown begins.
- Click Stop (the red square) when you’re done. The video opens in a preview.
- Click Save to keep it as an MP4. Recent versions also auto-save to Videos > Screen Recordings.
If you don’t see the video option or audio buttons, update Snipping Tool from the Microsoft Store (Library > Get updates).
Method 2: Xbox Game Bar (games and single apps)
- Open the game or app you want to record.
- Press Win+Alt+R to start recording immediately, or Win+G to open Game Bar and click the record button.
- Press Win+Alt+R again to stop.
Recordings go to Videos > Captures. Game Bar only records one app window. It can’t record the desktop, File Explorer, or switch between apps during a recording. Turn on the microphone in Game Bar’s Capture widget if you want commentary.
Method 3: Clipchamp (record and edit)
Clipchamp is Microsoft’s video editor and comes with Windows 11. Open it, start a new video, and choose Record & create > Screen (or Screen and camera). After recording, the clip drops into the editor so you can trim, add captions and text, and export. Clipchamp screen recordings have a time limit per clip, so it’s best for short videos.
Method 4: PowerPoint
If you have Microsoft 365, open PowerPoint and go to Insert > Screen Recording. Select an area, record, and the video is inserted into the slide. Right-click it and choose Save Media as to keep it as a separate file. It’s surprisingly good for training videos.
Method 5: OBS Studio (free, unlimited, professional)
OBS Studio is free and open source, used by streamers and course creators. It records any combination of screens, windows, webcams and audio sources with no time limit or watermark. Setup takes 10 minutes: add a Display Capture source, check your audio levels, set the output format to MP4 in Settings > Output, and click Start Recording.
Recording a browser tab
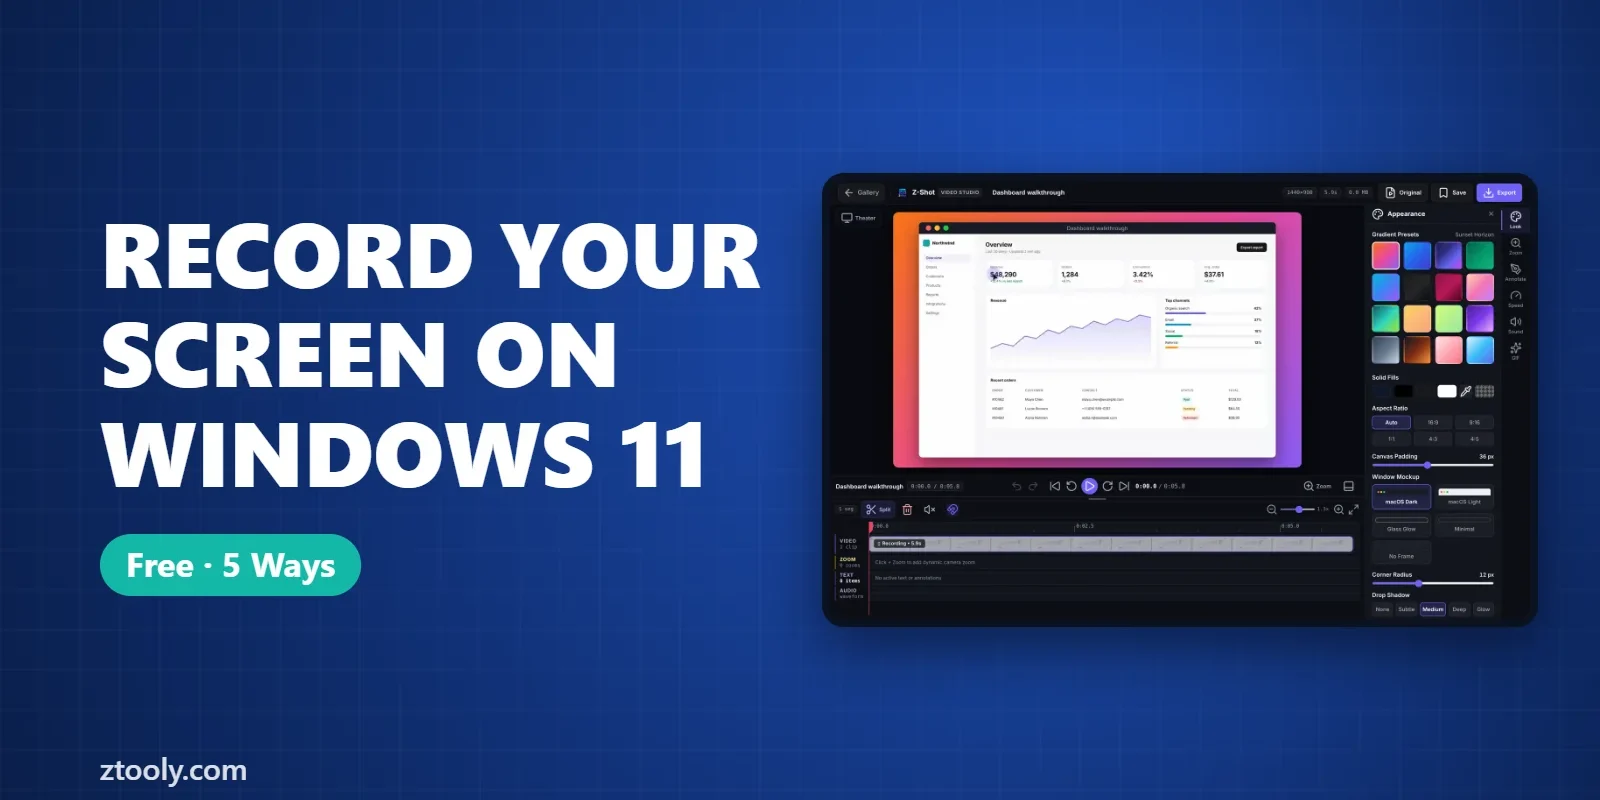
If what you need to record lives in Chrome, a browser-based recorder can be simpler than any of the above, because it can record just one tab and edit afterwards without leaving the browser. Z-Shot, our extension, records a tab, window or screen with microphone and webcam, then opens a Video Studio for trimming, zooms and MP4 or GIF export. Recordings stay in your browser. Other options are in how to record your screen in Chrome with audio.
Tips for a better screen recording
- Close notifications and turn on Do Not Disturb (Settings > System > Notifications).
- Record a smaller area rather than a 4K full screen, so text is readable when shared.
- Use a headset microphone if possible; laptop microphones pick up keyboard noise.
- Hide private information before you start: close email, chat apps and tabs you don’t need.
- Keep it short. Two focused minutes beat ten rambling ones.
Troubleshooting
- No sound: check the audio buttons in Snipping Tool, and that the right microphone is the default in Settings > System > Sound.
- Game Bar says it can’t record: you’re on the desktop or File Explorer. Use Snipping Tool instead.
- Black video: some protected content (streaming services) can’t be recorded.
- Large files: record a smaller area or lower the frame rate in OBS.
For most people, Snipping Tool is the quickest way to record your screen on Windows 11; switch to OBS Studio when you need long or high-quality recordings.
FAQ
How do I record my screen on Windows 11 for free?
Press Win+Shift+R to open Snipping Tool’s screen recorder, select an area, and click Start. For games, press Win+Alt+R to record with Xbox Game Bar.
Does Windows 11 screen recording include audio?
Recent versions of Snipping Tool can record both your microphone and system sound. Game Bar records game audio and can add your microphone.
Where are Windows 11 screen recordings saved?
Snipping Tool recordings auto-save to Videos > Screen Recordings on recent versions. Game Bar recordings go to Videos > Captures.
Why can’t Game Bar record my desktop?
Game Bar only records a single app or game window. Use Snipping Tool or OBS Studio to record the desktop or File Explorer.
What is the best free screen recorder for Windows 11?
Snipping Tool for quick clips, and OBS Studio for long or professional recordings with no limits or watermark.
Try it free: Z-Shot captures full pages, records your screen, and blurs or redacts sensitive data right in Chrome. Free plan, no account needed, and nothing is uploaded.